As digital marketers and website owners, we often focus heavily on Google for our SEO efforts. However, Bing, the search engine powered by Microsoft, offers a valuable opportunity to expand your reach and improve your website’s visibility. Here’s why you should start using Bing, and how to set up and verify your website in Bing Webmaster Tools.
Why Start Using Bing?
Significant Search Market Share
While Google dominates the search engine market, Bing still holds a substantial share, particularly in regions like the United States. By optimizing your site for Bing, you can tap into an audience that might otherwise be missed.
Integration with Windows
Bing is the default search engine for Microsoft products, including Windows 10 and 11, Edge browser, and Cortana. This means a significant number of searches happen on Bing, especially from users who prefer or are defaulted to Microsoft products.
Less Competitive Environment
With fewer businesses focusing on Bing, there’s less competition for top search rankings. This gives you a better chance to rank higher for your targeted keywords, potentially driving more traffic to your site.
Comprehensive Webmaster Tools
Bing Webmaster Tools offers a range of features, including keyword research, backlink analysis, and site performance tracking, which can help you enhance your SEO strategy across multiple platforms.
How to Create and Add an Account in Bing Webmaster Tools
- Sign Up for a Microsoft Account: If you don’t already have a Microsoft account, you’ll need to create one. Visit Microsoft’s sign-up page and follow the prompts to create an account.
- Access Bing Webmaster Tools: Once you have a Microsoft account, go to the Bing Webmaster Tools homepage and sign in using your Microsoft credentials.
- Add Your Website: After signing in, click on the “Add a Site” button. Enter your website’s URL and specify the location where your sitemap is located (if you have one). Bing will then ask you to verify ownership of the site.

How to Place the Verification Code on Your Website
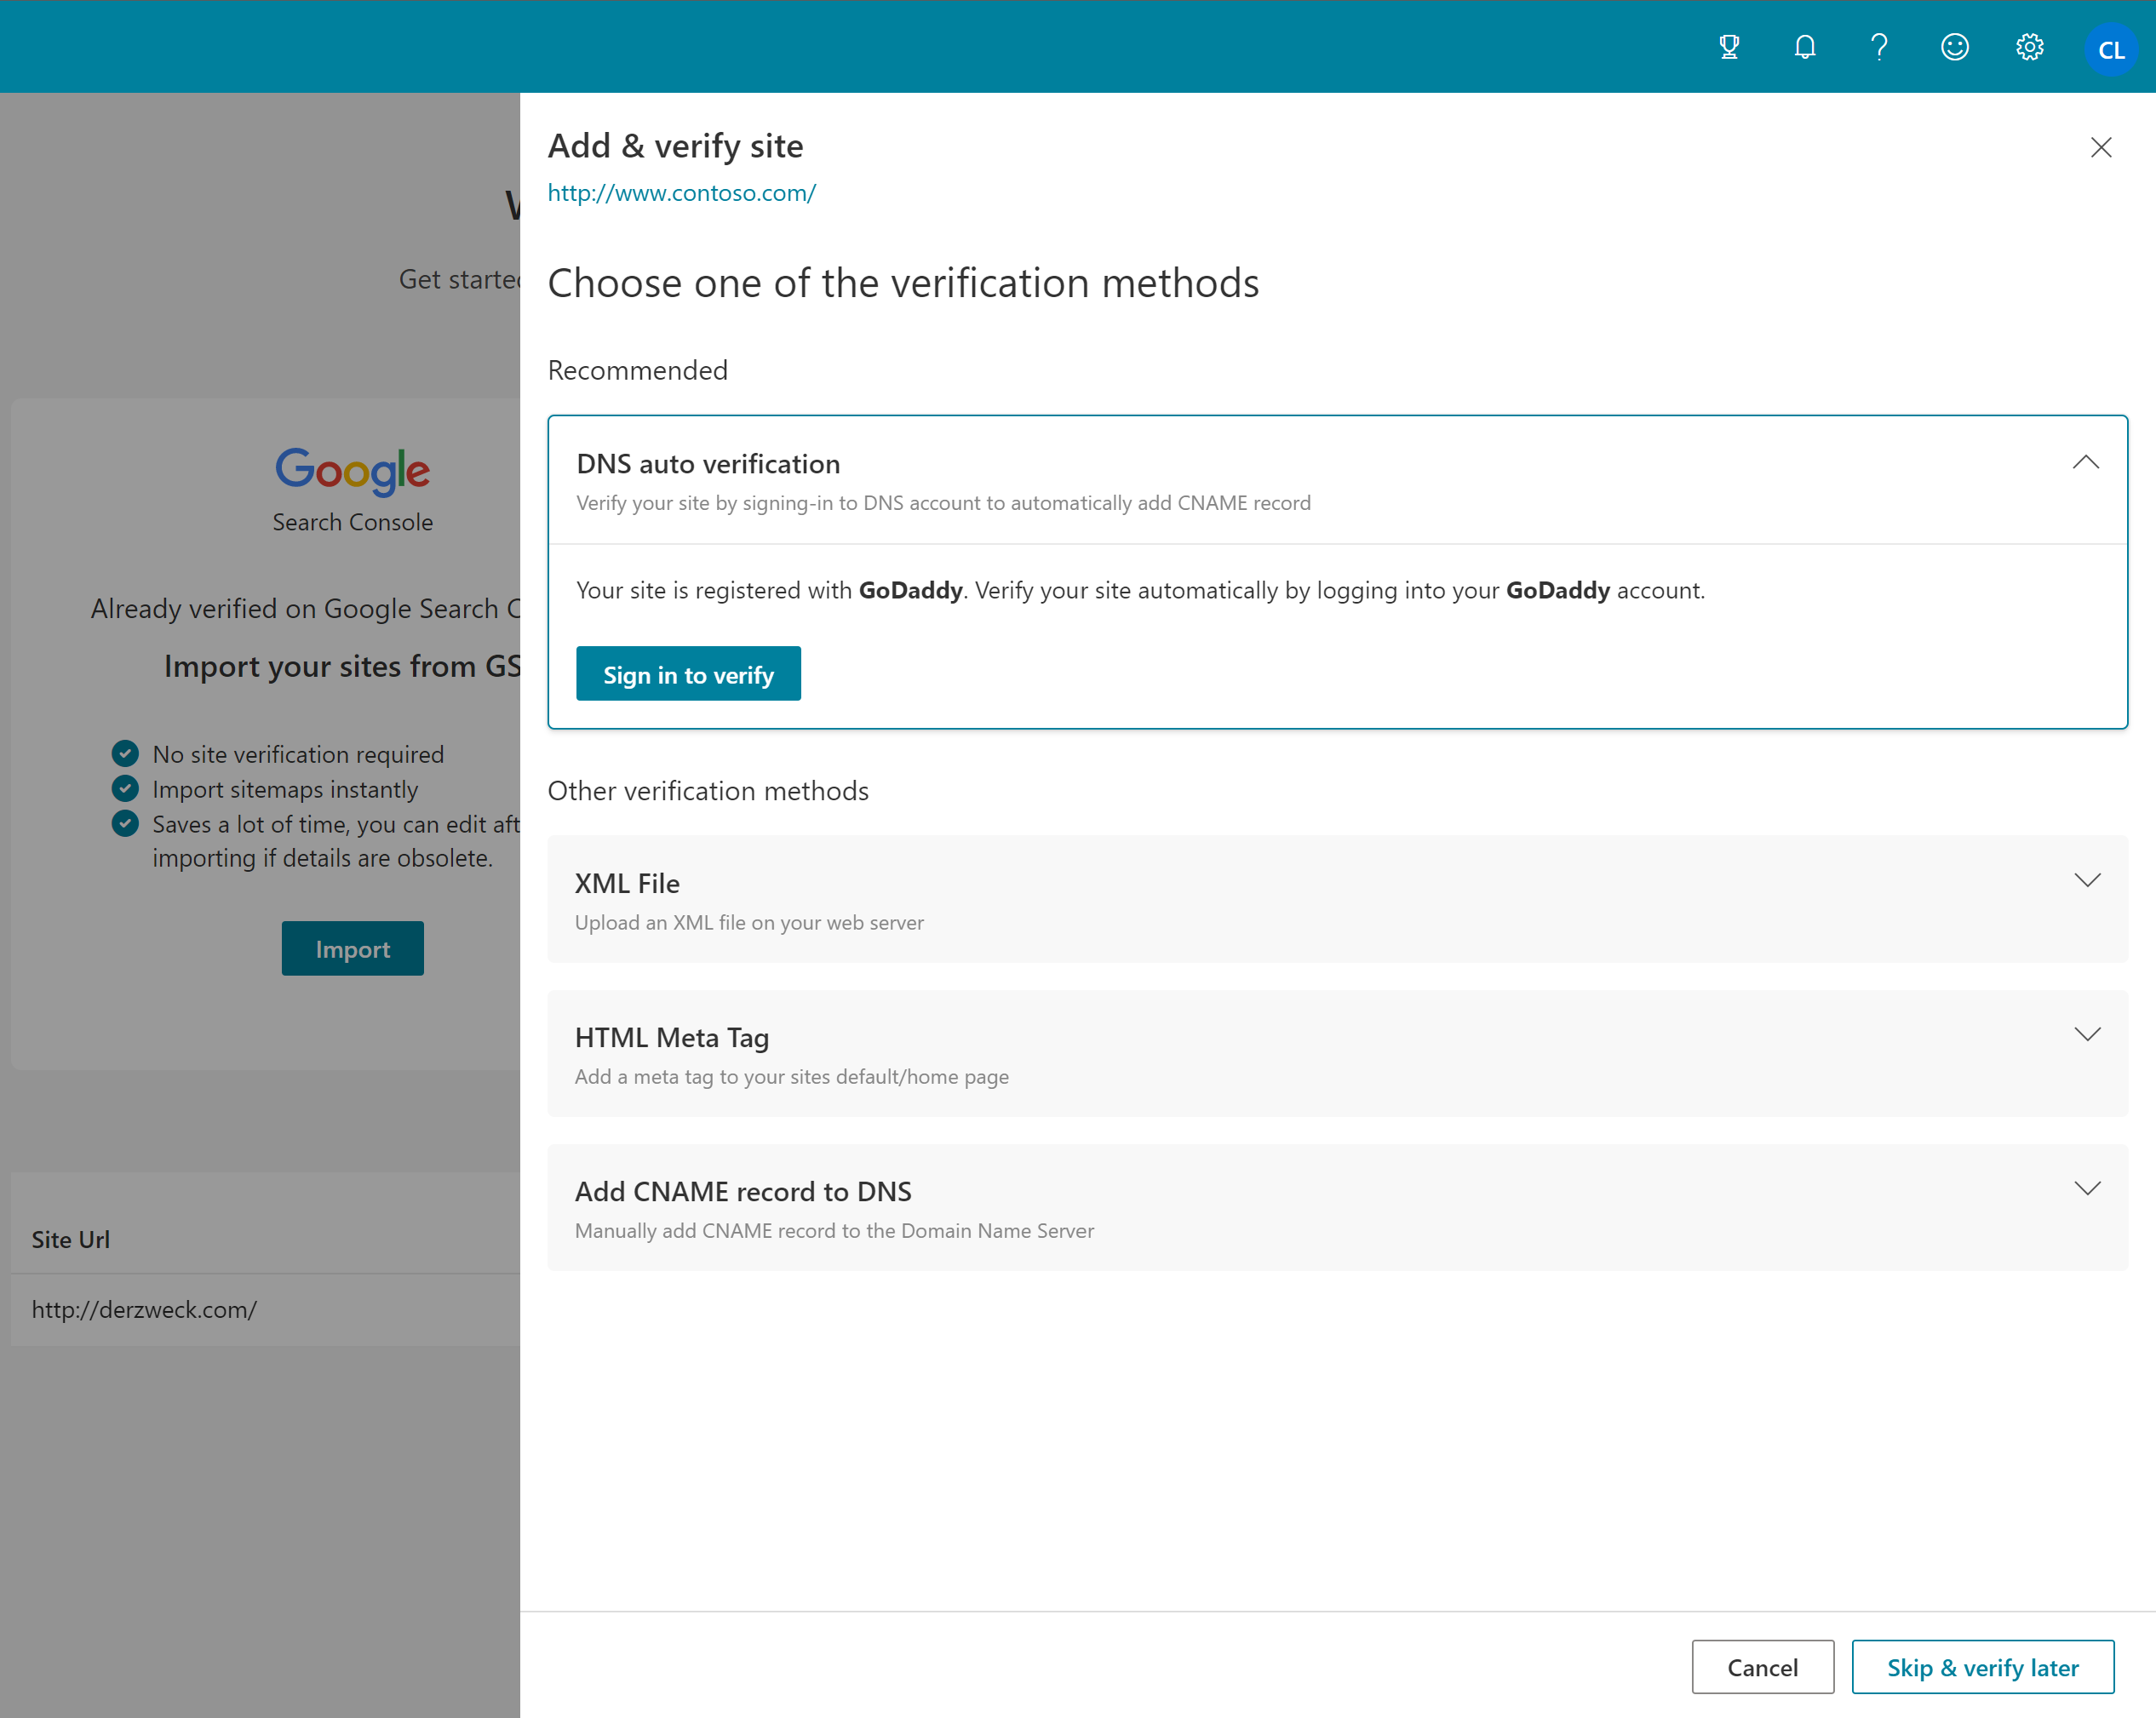
Choose a Verification Method
Bing offers several methods to verify your site, including XML file upload, adding a meta tag to your site’s HTML, or adding a CNAME record to your DNS settings.
Adding the Meta Tag
- Copy the Meta Tag: Select the meta tag option, and Bing will provide you with a line of HTML code.
- Paste the Code in Your Website’s Header: Access your website’s HTML files (usually through a CMS like WordPress or directly via FTP). Paste the meta tag code into the
<head>section of your homepage.
Verify the Code
Once you’ve added the code, return to Bing Webmaster Tools and click “Verify.” Bing will then confirm ownership of your site and start gathering data.
Conclusion
Utilizing Bing as part of your SEO strategy allows you to reach a broader audience and potentially achieve higher search rankings with less competition. Setting up Bing Webmaster Tools is a straightforward process that starts with creating an account, adding your website, and verifying ownership. By taking these steps, you can optimize your site for Bing and enjoy the benefits of increased visibility and traffic.
Need help or want to ensure everything is set up correctly? Contact our team of experts today, and we’ll make sure your Bing Webmaster Tool is optimized for success!